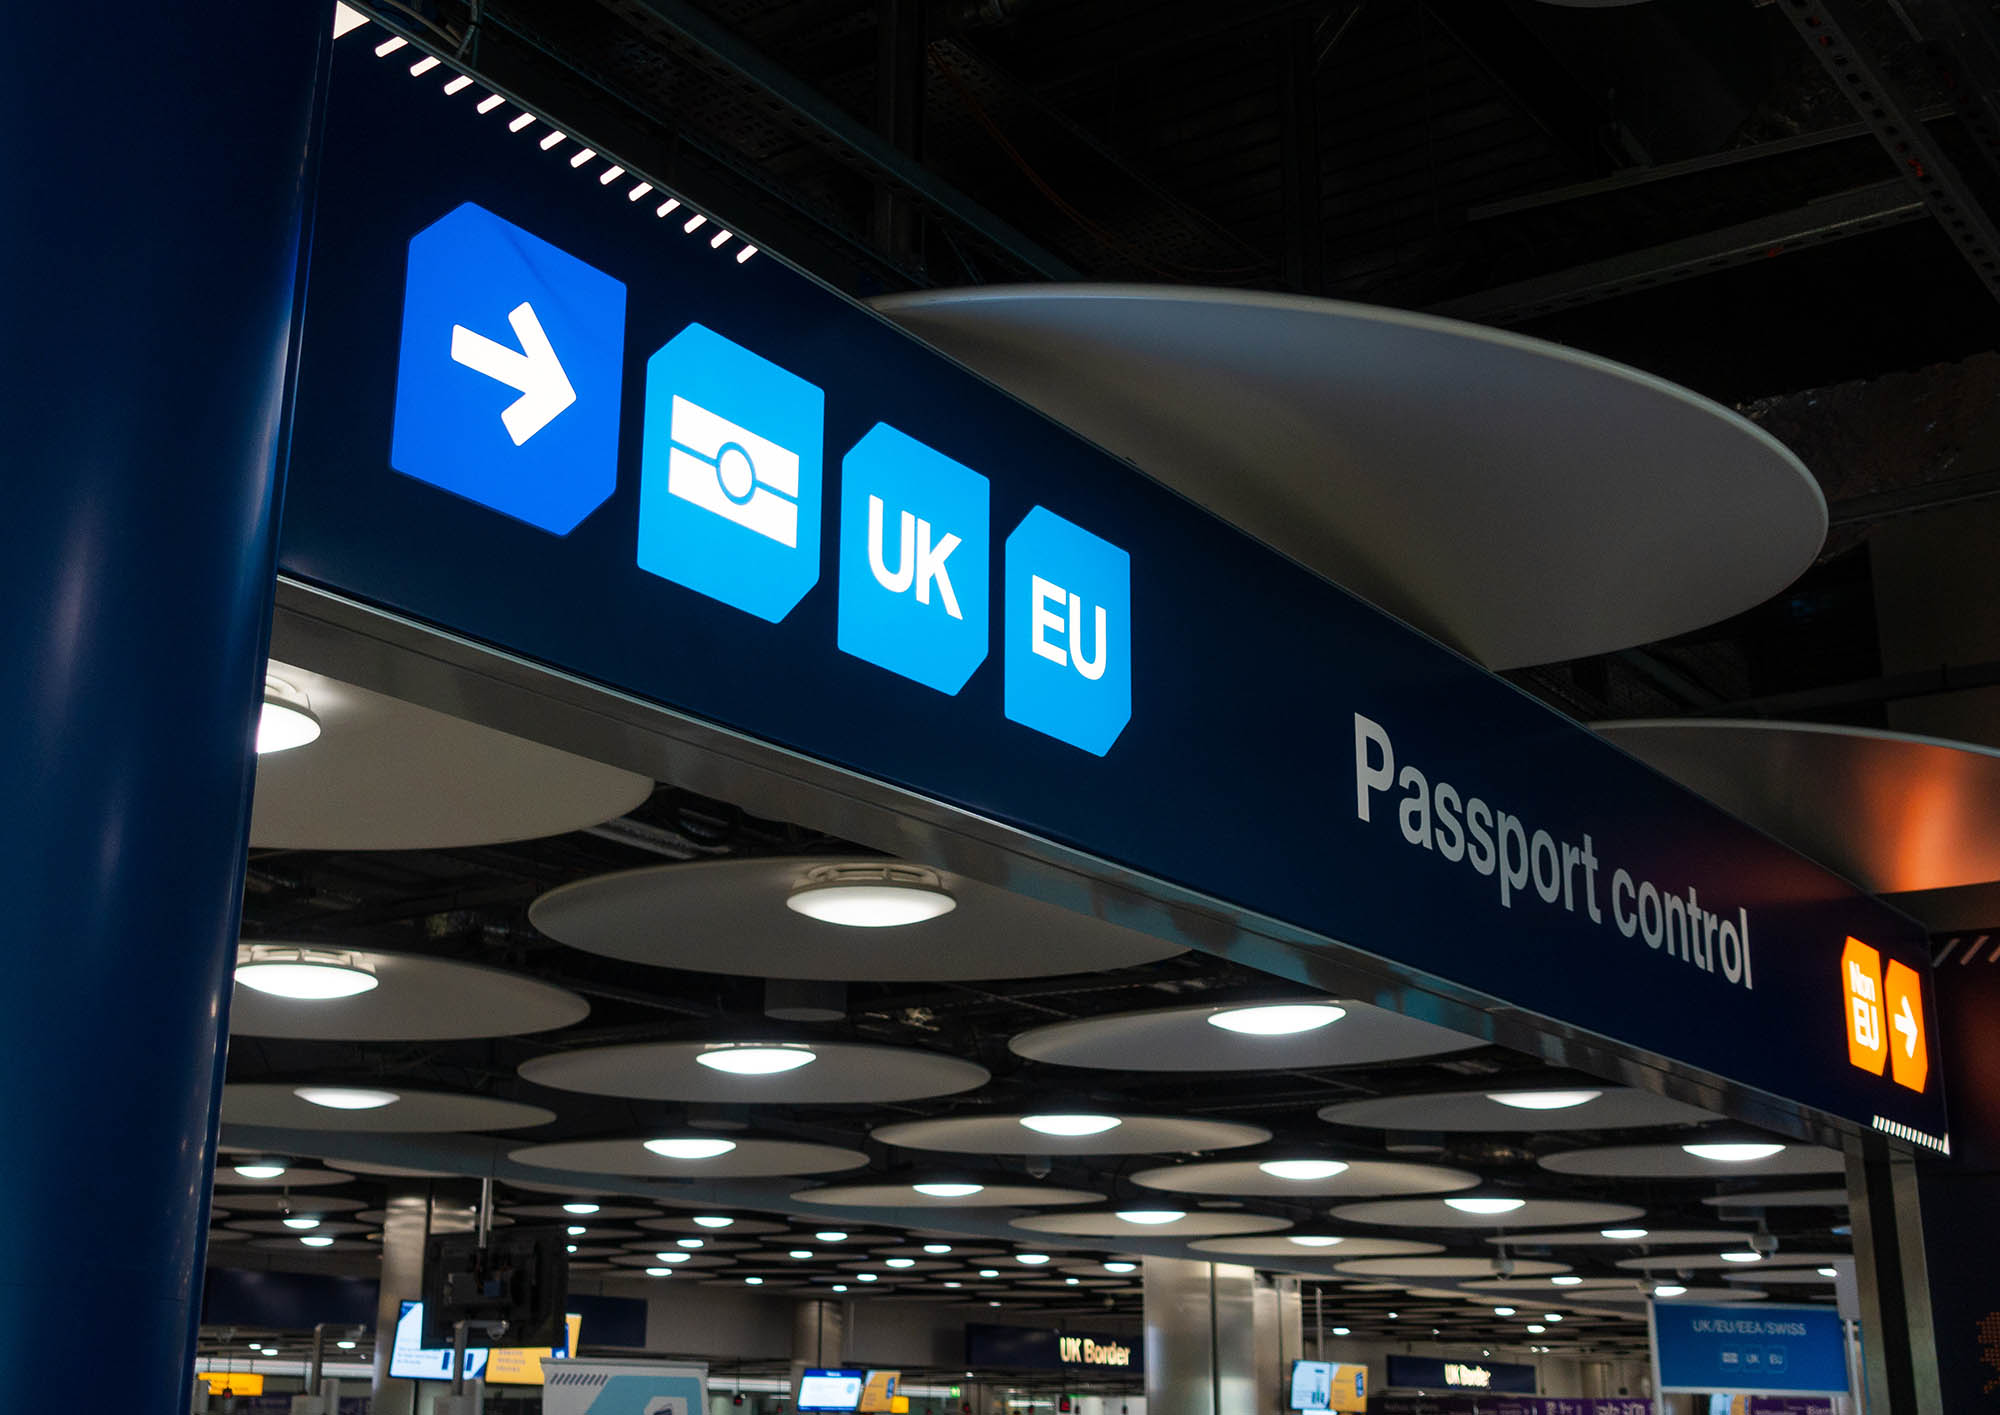
Entering the UK
Entering the UK
As United Kingdom Visas and Immigration (UKVI) have announced that visa vignette stickers will no longer be issued from 15 July 2025 onwards, it is now extremely important that all successful Student visa holders create their UKVI account and access their eVisa before travelling to the UK.
If you do not take steps to create your UKVI account and access your eVisa before you travel to the UK, you may be denied boarding at the airport. This could mean you will be unable to travel and enrol on time, and it could even mean losing your place on your course.
Please follow the guidance below to set up your UKVI account and access your eVisa before you travel to the UK. Following the guidance below will ensure you have a stress-free journey to the UK and will help to ensure you arrive on time to enrol on your course.
Part 1: Set up your UKVI account and link your passport
- Go to gov.uk/get-access-evisa, scroll down and click the green “start now” button.
- Give your name, date of birth, etc, and ask it to send your verification code to your email address.
- Scan your passport using the app, follow the instructions and complete the ID verification process. If your passport has the gold biometric chip symbol, you can scan the biometric chip.
If your passport does not have a biometric chip, you may have to scan it several times before the app will let you skip the process.
- You may be given access to your eVisa quickly, or it could take several days. You will get an email once your eVisa access is granted. Check your eVisa is linked to your current passport by using the Update Your Details page on the UK Government website.
- Once your access is granted, you can generate a share code and use your eVisa to travel to the UK. Read Part 2 for full guidance on how to generate a share code.
Part 2: Create a Share Code
Before you can make a share code, you must have set up your UKVI account and the Home Office must have given you access to your eVisa.
- Go to https://www.gov.uk/view-prove-immigration-status and click the green “start now” link.
- On the next screen, click “Passport”, then continue.
- When asked which share code you need, do not choose the “Work” or “Rent” options; you need to choose “Other”.
- Your new share code should then be created. Your share code should start with the letter "S" and should consist of a string of 9 letters and numbers.
- Log on to your CAS Shield account. Scroll down to the “Travel Docs” section. Go to “Digital Immigration Status”. Type and save your new share code there.
- You may also need to show your share code at the airport. If airline staff say you cannot board the plane even though you have received a Student visa, you can politely direct them to read the UK Government’s Charging Procedures: A Guide for Carriers, particularly Section 10: Support for Carriers, which explains what airlines should do if they are unsure about whether or not someone has the right permission to travel to the UK. Airlines have 24/7 access to the Carrier Support Hub if they have queries or concerns about a passenger’s permission to travel to the UK.
- Once you arrive in the UK, attend an enrolment event and sit with one of the visa check team so they can check your passport and your eVisa at the same time (see our "Enrolment" page for more details).
Do not enter the UK until after the start date of your Student visa. This is particularly relevant to non-visa nationals (e.g. US nationals, EU nationals). If you cross the UK border before your Student visa start date, you may have actually entered the UK as a visitor, not a Student visa holder. If your course is over 6 months long, we may not be able to enrol you on that basis, and so you may have to leave the UK and re-enter after your Student visa start date to “activate” it before you can enrol on your studies.
Full details on airport taxis and temporary accommodation upon arrival in the UK are available.


